I recently built a DIY solar panel stand that cost me just $11. That''s an insane deal. Store-bought solar panel stands and mounts regularly cost five times as much. What''s more, this homemade stand is adjustable,
Bottom line the Renogy 50W kit is a very good solution for my needs. I might have gotten by with a 30 watt panel but with all the components of the Renogy kit - it was the best deal and I
This DIY portable solar panel stand is 100% adjustable from 90-degrees to 5-degrees of angle. During the summer the sun is much higher in the sky than it is during the winter. During the summer solar panels can often lay
Once you''ve got solar panels now you need to mount them onto a frame or rack. Commercially available solar panel racks are expensive. This article shows you how to build your own solar panel rack for nearly no money.
Read our SOLPERK 50W/12V Solar Panel Kit review. Maximize your battery charging efficiency with this high-conversion rate solar panel. Additionally, the solar battery charger comes with a 60-degree angle adjustable mounting
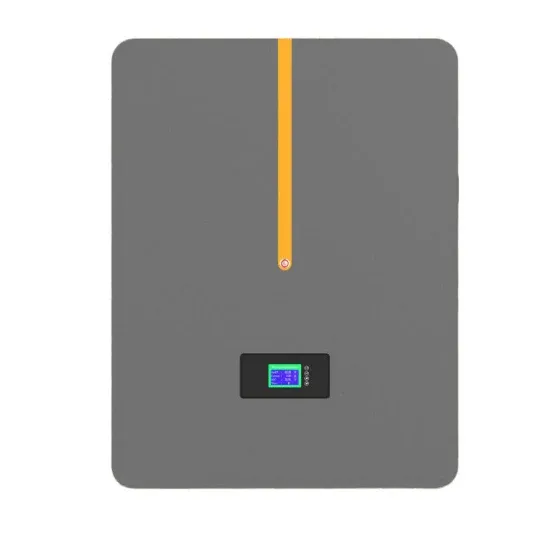
【Easy to Install & Operate】- It''s very easy to install this solar panel on the wall or on the roof with pre-drilled mounting holes and needed screws. All cable connections are plug and play,
Voltset 10W 12V Solar Panel Kit, Monocrystalline Solar Battery Trickle Charger Maintainer + Built-in MPPT Charge Controller + Adjustable Mount Bracket for Car, RV, Boat, Motorcycle, Gate

For adjustable solar panel mount racks, check the adjustable mount brackets accessory 12 months extended warranty + 24/7 professional technical support. Ideal off grid solar charging kit for variety of off-grid applications including
The Alvolta single solar panel pole mount brackets are perfectly designed to fit Alvolta Eclipse Solar Panels and can be easily adapted for many other solar providers. The series uses heavy-duty aluminium alloy and allows a 0-45
【Built to Last】 Low-iron tempered glass surface and corrosion-resistant aluminum frame, make this solar panel 100% waterproof and rustproof, and provide the prolonged lifespan up to 25
The first step when building your DIY solar panel stand is to determine the proper angle for your panels. This will depend on your location and the amount of sunlight your panels will receive. Once you have this information, you can begin designing your stands and gathering the necessary materials.
Depending on various factors, your solar panel mounting process might differ slightly. For this guide, we use the EcoFlow Tilt Mount Bracket for EcoFlow 400W Rigid Solar Panel as an example. Make sure to consult your equipment manuals before proceeding to install your panels.
DIY installations allow you to customise your solar panel system to match your home’s energy needs and roof layout (or perhaps even a balcony). Some professional installations may offer limited options, while a DIY approach allows for optimising panel placement, choosing specific components, and tailoring the system for maximum efficiency.
Notice the outside boards of the box frame are turned on edge and the inside runners are flat and flush with the top. The first step in building the frame is to build a basic box. The height will be the measurement from the bottom of the solar panel to the top of the upper bracket on the solar panel.
EcoFlow’s rigid solar panels come with a EcoFlow Tilt Mount Bracket for easy rooftop installation. The components include four fixing brackets, two adjustable brackets, and screws. This should be all you need to mount rigid solar panels on the roof or any other flat surface on your home that receives direct sunlight.
Mark where you want to attach your triangle brackets to the wall. Use a tape measure to make sure they’re installed as far apart as your solar panel is wide. Screw the brackets to the wall, using a level to make sure they’re vertical. I used two screws per bracket — one at the top and bottom of the vertical side. Here’s a video of this step: