This is the most comprehensive solar panel mounting video article, including videos of various mounting brackets. For example, how to use the balcony to install solar panels. This includes iron sheet/ground roof solar panel bracket
EcoFlow''s rigid solar panels come with a Tilt Mount Bracket for easy rooftop installation. The components include four fixing brackets, two adjustable brackets, and screws. This should be all you need to mount rigid
3. Prepare the garage door by fixing any existing bracket issues and installing a reinforcement bracket if needed. 4. Measure and mark the precise locations for mounting the bracket. 5. Attach the bracket securely to the garage door, either
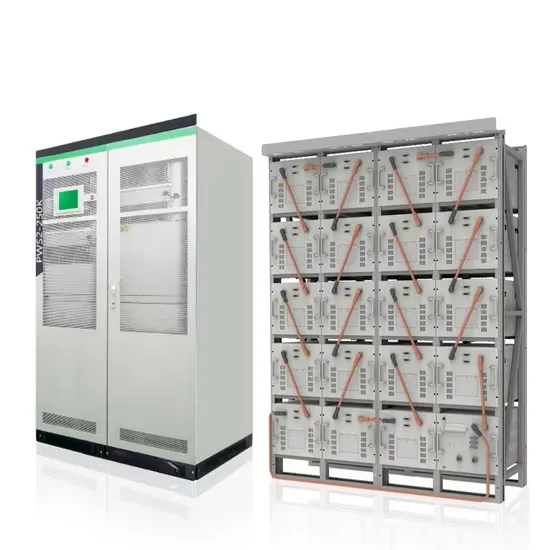
Mounting: Securely mount the PV combiner box close to the solar panels.. Connections: Connect the positive and negative terminals of the solar panels to the corresponding inputs in the combiner box.. Safety Devices:
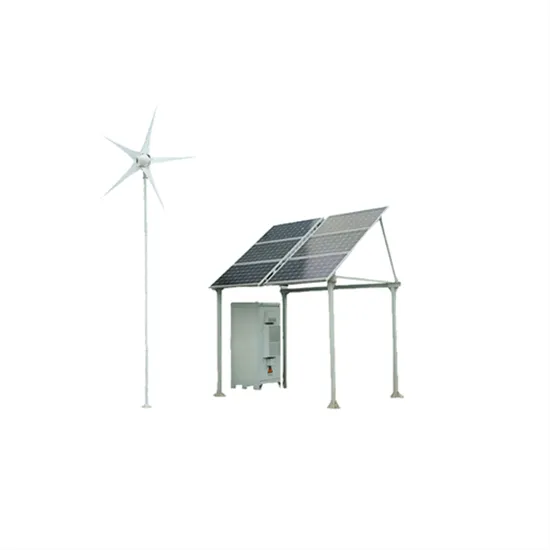
When installing a photovoltaic (PV) system on a sloped roof, safety measures are crucial. Lower angles impede self-cleaning, while higher angles necessitate increased row spacing. Proper alignment of PV modules is crucial for an
Solar Panel Brackets Installation. Solar panel brackets are an important part of the installation process and should be installed by a professional. The brackets must be installed correctly to ensure the safety and
The end brackets will have a spot to hold a single panel, and the middle brackets will have a spot to secure two panels. Some solar panel kits may use single panel brackets. The basic is to position the bracket to capture the panel and then tighten the bolt that clamps the bracket to the panel.
The purpose of installing the bracket is to better fix the solar panel. If there is a more convenient and feasible method to fix the solar panel. PVMars will definitely recommend it to you, and effective solutions are based on solar panels’ characteristics and your on-site installation environment.
EcoFlow’s rigid solar panels come with a Tilt Mount Bracket for easy rooftop installation. The components include four fixing brackets, two adjustable brackets, and screws. This should be all you need to mount rigid solar panels on the roof or any other flat surface on your home that receives direct sunlight.
Here’s a step-by-step DIY guide to mounting your panels. Depending on various factors, your solar panel mounting process might differ slightly. For this guide, we use the Tilt Mount Bracket for EcoFlow 400W Rigid Solar Panel as an example. Make sure to consult your equipment manuals before proceeding to install your panels. 1. Plan and Prepare
The first step is to attach the fixing bracket to the solar panel. Lay the solar panel face-down on the tarp or canvas to protect the photovoltaic surface. You want to be sure the mounting holes on the back of the panel align with the holes in the fixing bracket. Don’t modify the module frame because doing so may void your manufacturer’s warranty.
In short, the solar panels connect to a roof-mounted frame. The solar panels sit on the frame and are clamped with either a bolt, bracket, or other clamping devices. If you are using a kit, the clamps will match the frame making it easy to secure the panels to the roof.