On the other hand, if you''re connecting 42 x EcoFlow 400W rigid solar panels to 3 x DELTA Pro Ultra Inverters + Home Backup batteries, the diagram will be considerably more complicated.. For solar panel arrays with

So what does it take to install your own solar panels? This solar panel installation guide will offer you a quick overview of the process. Table of Contents: 8 Steps for Stress-Free DIY Solar Installation. Step 1: Make a DIY Solar Plan; Step 2:

In the past I''ve written about solar panel clamping zones which determine where, on a solar panel''s edge, you can place the clamps that attach the modules to their mounting rails. What I didn''t do was go into just where on
3. Make space for the solar panel accessories (solar inverter, cables and solar batteries, if desired), for instance in a plant room. 4. Plan a day for installation. 5. Erect the scaffolding (this can be done by your supplier or by
The solar panels (the correct term is photovoltaic modules) that make up the solar panel produce electricity from the incidence of sunlight. Therefore, the greater the average solar radiation at the installation site, the
Many factors impact if your home is suitable for installing solar panels, including the type of solar panel being installed, and the orientation and pitch of the roof. " Solar PV (photovoltaic) panels generate electricity from
All of this is great news for roofing contractors looking for ways to expand their offering to clients. That''s why we''ve put together this guide to solar panel installation. Types of solar panel installation. There are currently two
Here is the simple steps to install solar panels. Step – 1: Solar Panel Installation Made Easy. Step – 2: Assembly of Solar Panels. Step – 3: Electrical Wiring. Step – 4: Connection between Solar Panel and Solar
The first step in the installation process is to conduct a site assessment to determine the feasibility of installing a photovoltaic system. This includes evaluating factors such as the orientation of
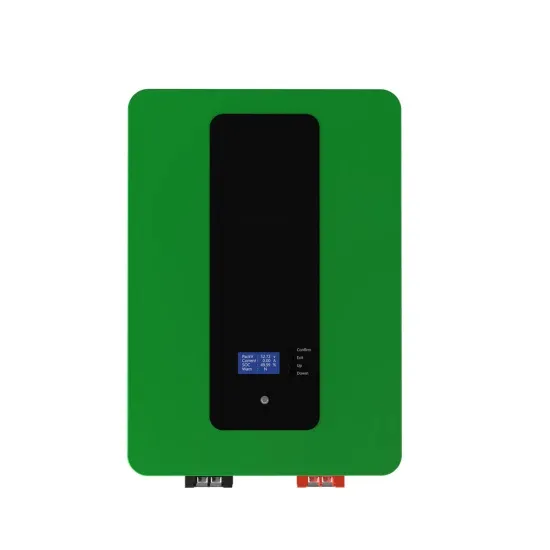
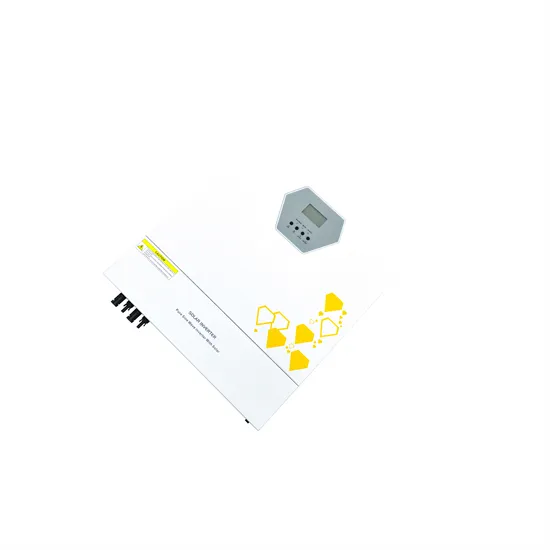
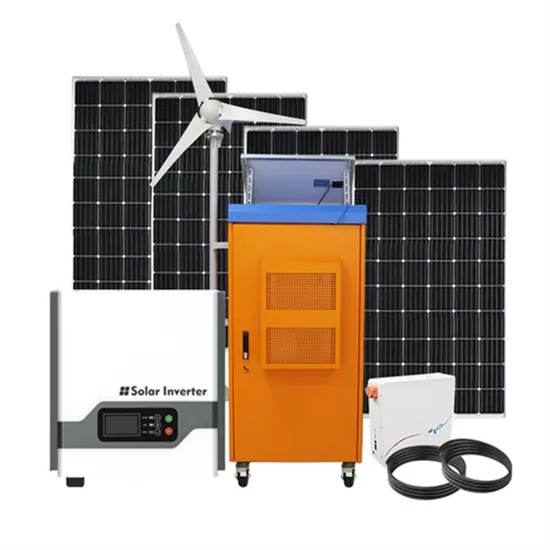
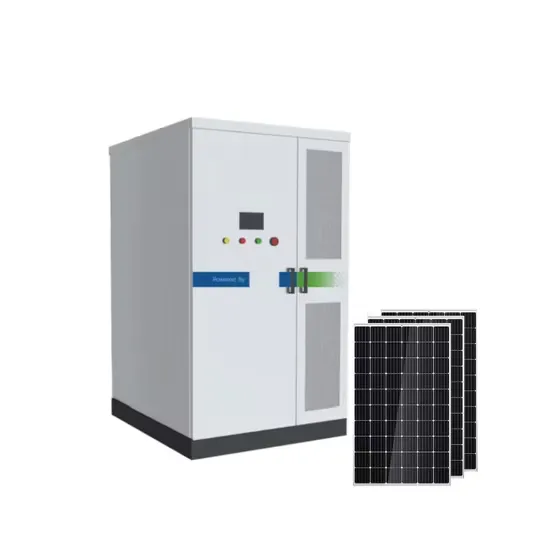
Make space for the solar panel accessories (solar inverter, cables and solar batteries, if desired), for instance in a plant room 4. Plan a day for installation 5. Erect the scaffolding (this can be done by your supplier or by a company you organise) 6. The solar panel mounts will be installed 7. The professionals will install the solar panels 8.
Rail and Panel Installation The cheapest and most practical way to install solar panels is with a combination of rails and brackets. A secure hook is fastened to the rafters underneath your roof tiles and the rails are attached to these exposed hooks across the length of the solar array.
Yes, solar panels can be installed on a roof. With systems like Marley SolarTile®, the solar panel acts as the roof covering, reducing installation time. On retrofit projects, simply remove a section of tiles and install the solar panels in their place.
30 Degree Installation of solar panels. Solar panels should be installed always at 30 degree angle to extract maximum efficiency. Angle of installation results in maximum power generation. Also, solar panels should be installing facing south-west direction. 3 Earthing stands for solar systems.
When considering the installation of solar panels on your roof, it’s critical to understand if you need permission. In the UK, solar panel installations often fall under “Permitted Development,” meaning you typically won’t need planning permission.
A solar panel will be most effective if you have a south-facing roof. This will ensure maximum sunlight reaches the panel. You will also have to make sure that your roof can support a panel, and that it has a large enough area for panel installation. Under Permitted Development Rights, you won’t require formal permission to install a solar panel.