The first factor in calculating solar panel output is the power rating. There are mainly 3 different classes of solar panels: Small solar panels: At 25°C (77°F) solar panel temperatures are minimal. When the temperature rises in the
A solar module comprises six components, but arguably the most important one is the photovoltaic cell, which generates electricity.The conversion of sunlight, made up of particles called photons, into electrical
We asked solar-panel experts and owners for their top tips. is now closed for new applications, but many solar panel owners signed up when it was open. If you get it, part of it is based on

The conduit connects the solar panel or array to the house or battery backup system. You can dig the trench or run the pipes now or at the end of the process. power it up to full power and inspect it once more. After that,
Since 2008, hundreds of thousands of solar panels have popped up across the country as an increasing number of Americans choose to power their daily lives with the sun''s energy. Thanks in part to Solar Energy Technologies Office
P = Total power requirement (kW) E = Solar panel rated power (kW) r = Solar panel efficiency (%) For example, if your home requires a 5 kW system, and you''re using 300 W panels with an efficiency of 15%: N = 5 / (0.3 * 0.15) =
With the power optimizer, each solar panel produces energy, and when that energy reaches the optimized threshold, the power optimizer sends it to the Inverter. For this setup, the string inverter only has to convert the DC energy
Prepare Solar Panels for Wiring: Attach the MC4 connectors to the solar panel cables. Ensure a proper connection and use the crimping tool to secure them in place. Connect the Solar Panels: Begin the wiring process by connecting the positive terminal of one solar panel to the negative terminal of the next panel.
To do it right, you have to devote a lot of time and forethought into how it will come together. One very important step when constructing your own solar setup is putting together a solar panel wiring diagram (or schematic). This will essentially serve as your map as you connect all of your components.
Plan the Wiring Layout: Consider the distance between the solar panels, the charge controller, and the battery bank. Map out the wiring path and determine the cable lengths required. Mount the Solar Panels: Install the solar panels securely according to your chosen mounting system.
2. Choose Your Solar Panel Array 3. Select the Solar Panel Type 4. Select the Portable Power Station 5. Purchase the Balance of System 6. Gather the Necessary Tools and Components 7. Understand How Solar Panels, Charge Controller, Battery, and Inverter Work Together 8. Mount the Solar Panels 9. Set up the Inverter (Maybe Optional) 10.
This can be done either by using 24V solar panels and connecting them in parallel (since this leaves voltage alone) or by connecting sets of two 12V solar panels in series (since this will double the voltage to 24V) and everything else in parallel.
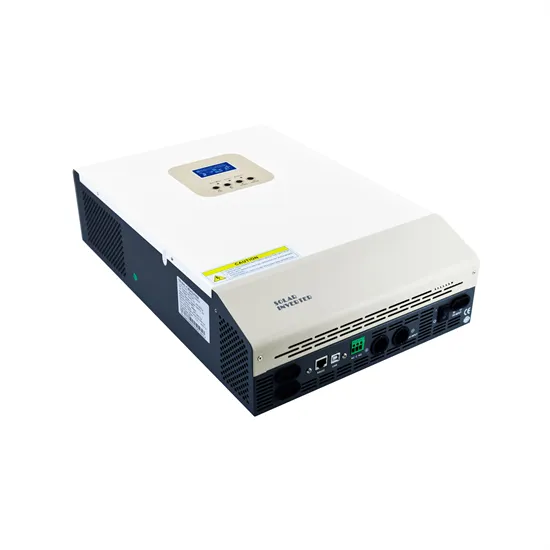
However, to truly harness the potential of solar energy, connecting the solar panels to an inverter is essential. The inverter serves as the heart of the solar power system, converting the direct current (DC) electricity produced by the solar panels into alternating current (AC) electricity, which is suitable for powering homes and businesses.