The Solar E-Clipse is the new road legal electric motorbike. With an exceptional 10000W powerful brushless motor outputting a whopping 350A of power you will be riding for miles. A large 72V
Home Solar Power Products Solar Panels Solar Panel Peripherals Tile Roof Bracket 40x40 Rail - 6 Datasheet & Manual Downloads. This Tile Roof Bracket comes with: – 1 x Hex Nut – 1 x M8X20 Hex Head Screw. Shop. Inverters
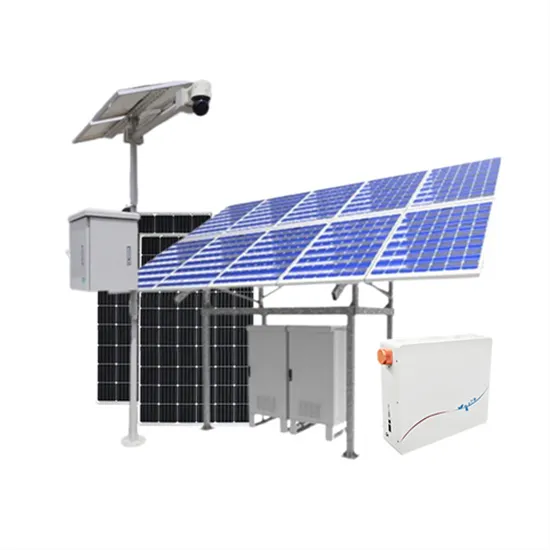
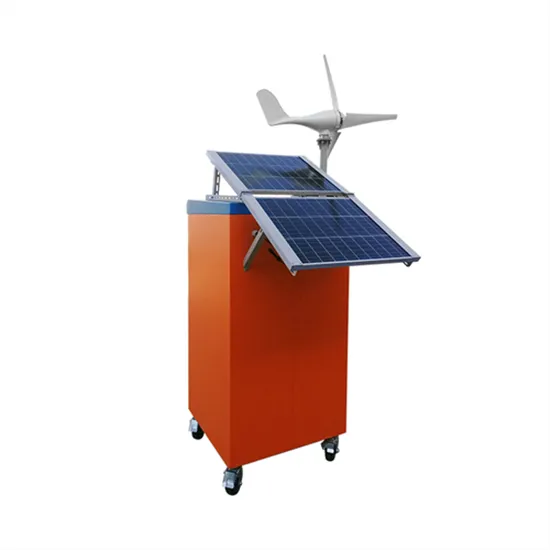
At NAZ Solar Electric you will be able to find the appropriate tracking and mounting system for your solar array. We stock a variety of different options from top of pole and side of pole
Overview EcoFlow Adjustable Ground & Suspended Solar Bracket is designed for the ground or suspension mount of the EcoFlow 400W Rigid Solar Panel on balconies, walls, or flat surfaces and features a 20°-75° adjustable angle.*
1. Mount the solar panel support beams on the solar panel. 2. Install the vertical support beam and solar panel support beams without tightening the screws. 3. Mount the lower support beams and adjust the angle for maximum sunlight exposure. 4. Tighten all the screws with 5N.m torque. 5.
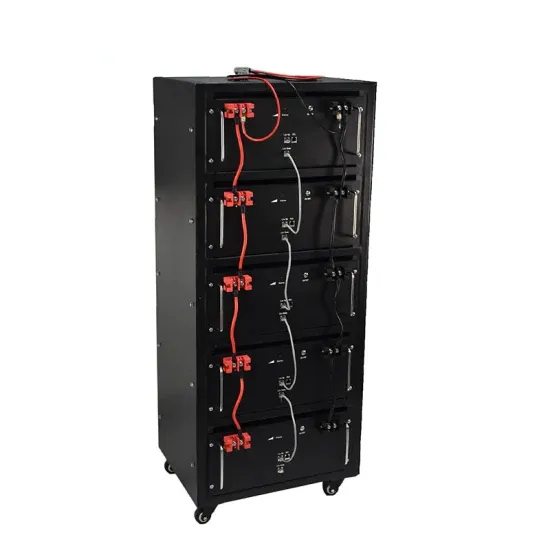
Open the wiring gutter on the left side of the floor mount base and lay the wires in place. Pass the cables through the wiring sleeve on the top left side of the floor mount base and connect to the battery. If installing more than one battery per inverter, use branch connectors. See the SolarEdge Home Battery Quick Installation Guide.
Transport the battery to the installation location. Lift the battery to the height of the mounting bracket. Hang the battery on the mounting bracket, while holding it by the handles. Secure with a mounting bracket screw (supplied) on each side. Apply a torque of 42 in-lbs/4.7N*m. Mount the conduit holder.
Store pallets in a ventilated, rain-proof and dry location until the modules are ready to be unpacked. Please unpack the package of JA Solar modules according to “JA Solar Modules Unpacking Instruction”. Do not lift the modules by grasping the module’s junction box or electrical leads in any condition.
Secure to the floor at 17N·m (150lbf·in) and then tighten the M10 (11/16") bracket securing nuts on each leg also at 17N·m (150lbf·in). Tighten the two Wall Bracket M5 (5/32" Allen) screws on each wall bracket at 17N·m (150lbf·in). Assemble the decorative cover.
The SolarEdge Home Battery can be floor mounted with each battery secured in a floor mount battery stand. The floor mount stand is provided as a kit that is purchased separately from the SolarEdge Home Battery. This document lists the contents of the SolarEdge Home Battery Floor Mount stand kit.