The article provides a guide for setting up a DIY solar panel installation, starting with planning and calculating electricity needs. It outlines the components needed such as solar panels, inverters, wiring, and mounting
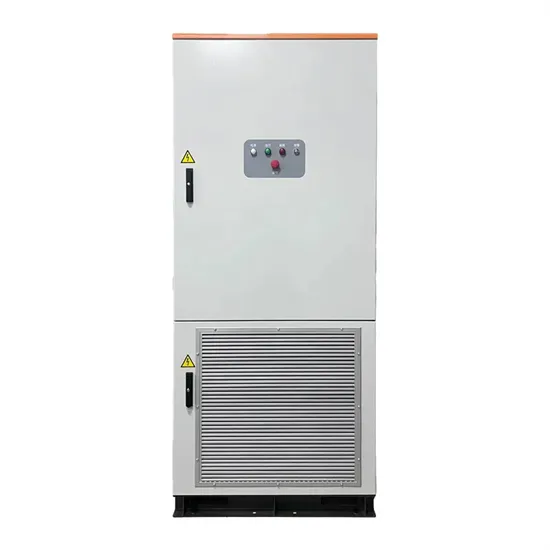
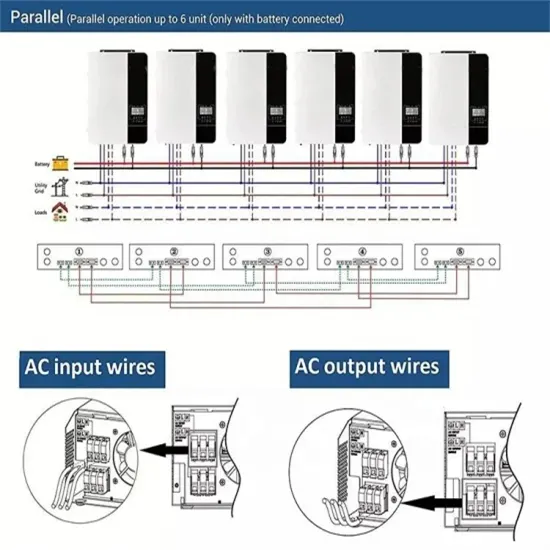
5. Connect the solar panels to the solar inverter and install the inverter into the electrical grid of your home or business: this is the final part of the installation, which only the electrician works on.. After installation and
Preliminary Steps for Solar Panel Installation. Before starting with your rooftop solar panel system, make sure to do some key steps. You need to look at how much electricity you use now. Then, you decide on the right solar
Step 1: To start, place the spacer ring on one end of the mounting arm. This will create a stable base for the solar panel. Step 2: Next, wrap the hose clips around the mounting bracket to ensure a secure fit. Step
Let''s assume you decide to install Renogy''s 320-watt solar panels. All you have to do is divide the total power output of your desired system by the power output of a single solar panel (from the manufacturer of your choosing). In this
It is a guide to installing solar panels, and we keep it short and sweet. But, we saved a bit of room for some essential tips and information you will want to know. So, keep reading as we get started. In this blog, we discuss:
Design and installation of Solar PV Systems. Today our modern world needs energy for various day to day applications such as industrial manufacturing, heating, transport, agricultural, lightning applications, etc. Most of our energy
Once your solar panel system is installed, maintain and inspect it regularly to ensure optimal performance. Neglecting routine maintenance can lead to reduced efficiency and potential issues. Although an RV solar
It is only after getting permission from utility providers that you can complete the final connections between your home wiring and this solar panel system. Step 5: Testing and Activation. Before activating the photovoltaic
To lift solar panels onto your roof, you can use a ladder railing system, a pulley system, a lifting bag, or even DIY lifting systems using a pulley. Carrying them up the ladder can also be done with products like the solar panel caddy, and all of these ideas will make this task that much easier.
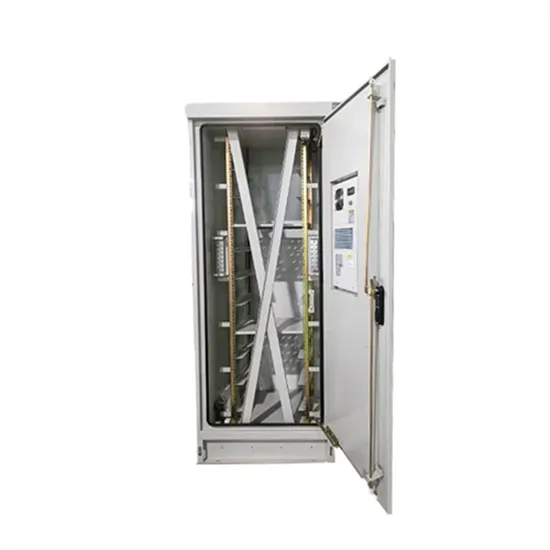
The basic system is to start with the installation of a rack or platform. If the panels are roof-mounted, a roof racking system is first installed. A ground platform is needed if the panels are ground-mounted, and installing the solar panels is not difficult. What is more difficult is wiring them.
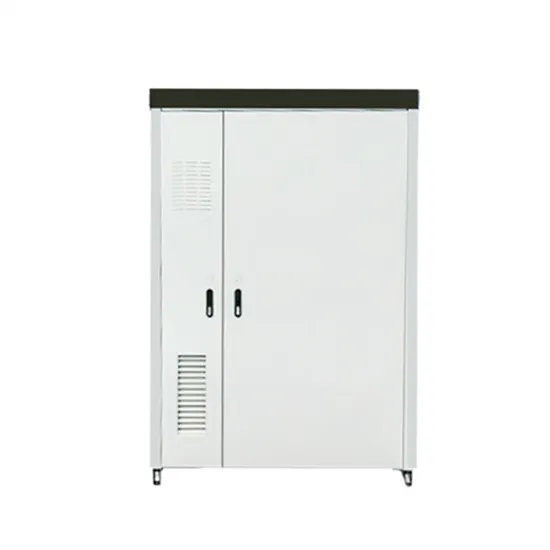
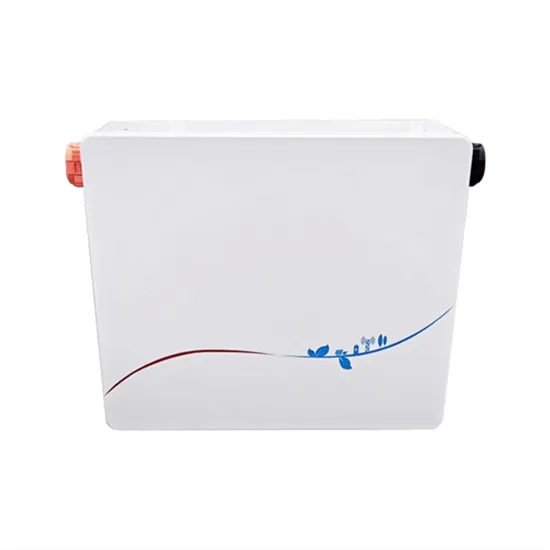
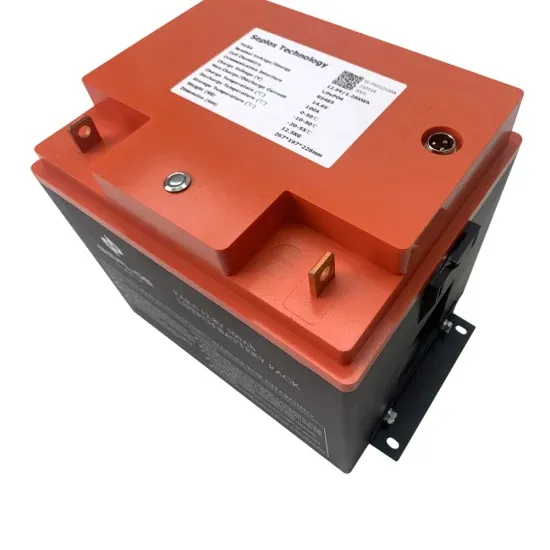
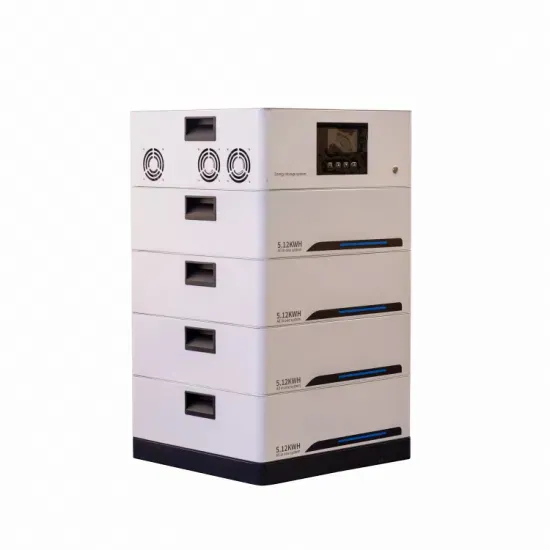
Choosing the capacity for your battery is largely up to your budget, so for this basic DIY solar panel installation, we recommend a 12V solar panel 100 Amp hour (Ahr) battery. For any battery-backed DIY solar panel system, choosing a PWM charge controller, rather than a MPPT, will be less efficient, but more cost effective.
Yes, you can go off-grid with your DIY solar panel installation. We have solar panel kits for both on-grid and off-grid use. They are the ideal solution to our energy requirements and can power any property or leisure vehicle. Conclusion
It outlines the components needed such as solar panels, inverters, wiring, and mounting materials. The process involves choosing the right components based on energy requirements, purchasing the materials, and installing the system safely. It includes tips on mounting solar panels, installing other components, and wiring the system.
Surface Area: The surface area of the site at which the PV installation is intended should be known, to have an estimation of the size and number of panels required to generate the required power output for the load. This also helps to plan the installation of inverter, converts, and battery banks.