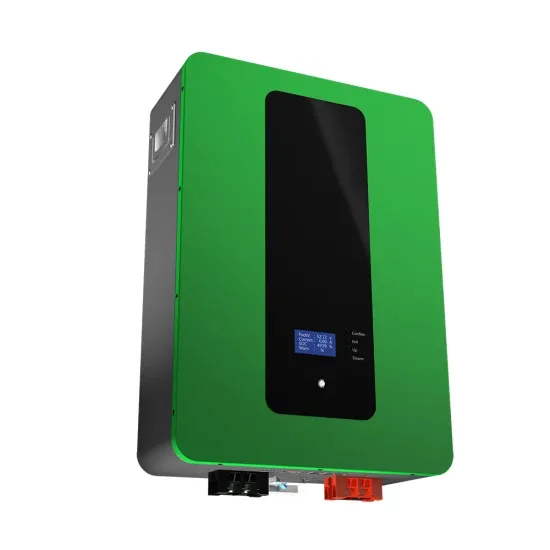
Attach the Bracket: If the inverter comes with a mounting bracket, attach it to the wall using the screws provided. Ensure the bracket is level and secure. Mount the Inverter: Lift the inverter and carefully place it onto the mounting bracket.
Solar panel kits are pre-packaged configurations including most of the components need to install an RV solar panel system. Each of our diagrams include an appropriately sized solar kit with the components list if
A solar panel wiring diagram (also known as a solar panel schematic) is a technical sketch detailing what equipment you need for a solar system as well as how everything should connect together. There''s no such

BougeRV''s Solar Panels for RV Conclusion FAQs RV Solar Panel Installation Wiring Diagram Before we delve into the details of how to install solar panels on your RV, let''s take a look at a basic wiring diagram that shows
How to install solar panels on the roof. In short, the solar panels connect to a roof-mounted frame. The solar panels sit on the frame and are clamped with either a bolt, bracket, or other clamping devices. If you are using
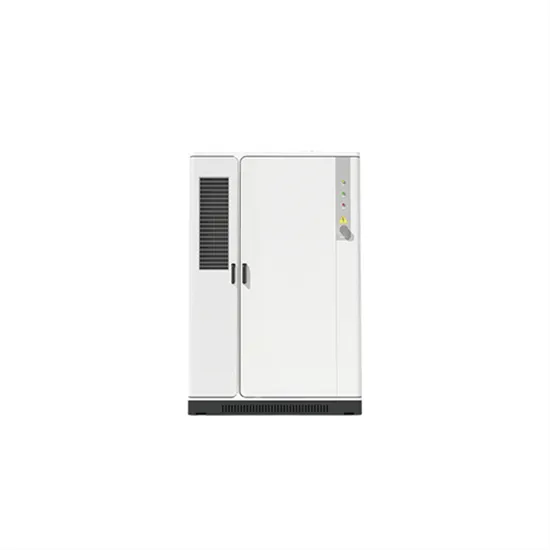
Installation location and position, Attaching the Mounting Bracket, Connecting the inverter to the public grid (AC side), Connecting solar module strings to the inverter, Data communication, Australian Conduits, Attaching the inverter to
This diagram is essential for anyone looking to install and set up their own solar panel system. It outlines the necessary steps and components needed to ensure a successful and efficient solar installation. The wiring diagram typically starts
How to install solar panel brackets . Solar panel brackets are just a nut and bolt attachment. They come in a variety of styles, and each is slightly different. Many slide onto the solar frame railings and then tighten to
The end brackets will have a spot to hold a single panel, and the middle brackets will have a spot to secure two panels. Some solar panel kits may use single panel brackets. The basic is to position the bracket to capture the panel and then tighten the bolt that clamps the bracket to the panel.
Solar panel brackets are just a nut and bolt attachment. They come in a variety of styles, and each is slightly different. Many slide onto the solar frame railings and then tighten to hold the panel in place. The end brackets will have a spot to hold a single panel, and the middle brackets will have a spot to secure two panels.
A solar panel wiring diagram (also known as a solar panel schematic) is a technical sketch detailing what equipment you need for a solar system as well as how everything should connect together. There’s no such thing as a single correct diagram — several wiring configurations can produce the same result.
Solar Stack pedestals can be installed on different types of roofs: Tile, Modied Bitumen, TPO, Concrete etc. Roof must be cleaned with brush. Place, where the Solar Stack pedestals and solar panels are to be placed on the roof must be clean, dry and at.
The total output voltage and current of your array are determined by how you connect the individual PV modules to each other and to the solar inverter, charge controller, or portable power station. Even if you don’t do any harm, a smart solar panel wiring plan will optimize performance and maximize the return on your investment.
The basic system is to start with the installation of a rack or platform. If the panels are roof-mounted, a roof racking system is first installed. A ground platform is needed if the panels are ground-mounted, and installing the solar panels is not difficult. What is more difficult is wiring them.